
Quilt Goals: T-Shirt Quilt
This post contains affiliate links.

Fat Quarter Shop asked me to participate in their Quilt Goals 2023 - a program to challenge our creative selves to do something we’ve always wanted to do, but hadn’t. When I saw t-shirt quilt on the list, I jumped all over it! My sister had sent me a box of t-shirts that I was planning to work on one day. I just didn’t know what day of which year that would be. This was just what I needed to motivate me to get it done!
For some reason I had my mind made up that it was going to be a monumental task. To my pleasant surprise, it turned out easier than expected. Following the steps below for a basic grid-style quilt top, I hope you find making your own t-shirt quilt stressless and enjoyable. Let’s get started!
SUPPLIES
T-Shirts
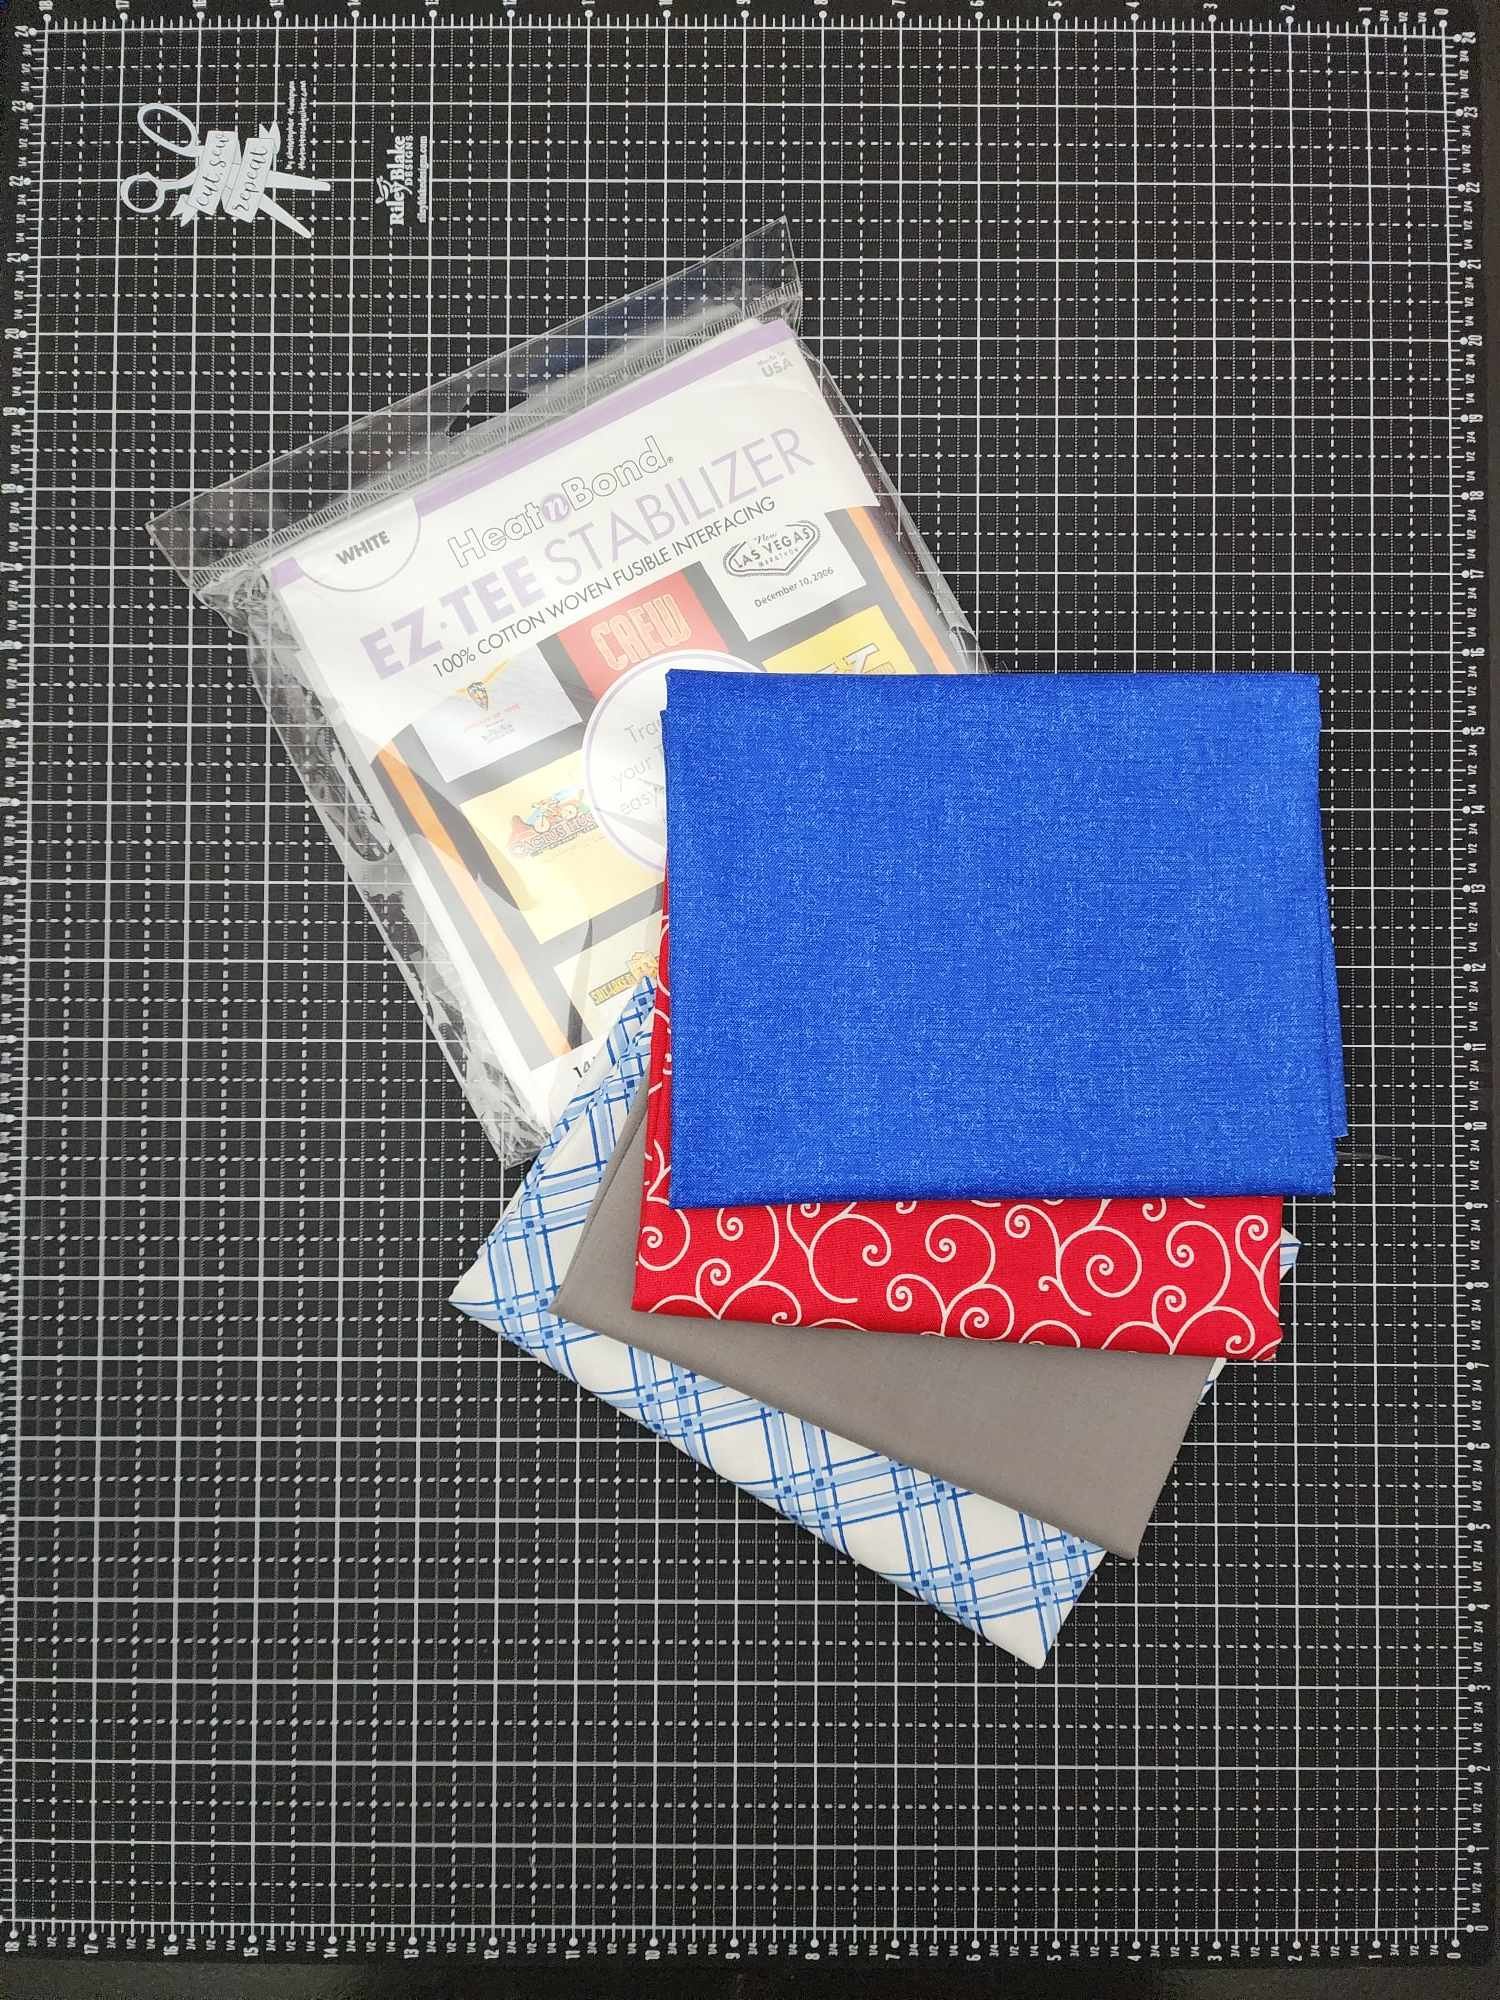
Fabric (Sashing, Filler Squares, Backing and Binding) - I chose these coordinating fabrics from Maywood Studio.
Fusible Interfacing - I used HeatnBond Ez-Tee Stabilizer
Basic Sewing Supplies - Rotary cutter, rulers, cutting mat, sewing machine, and coordinating thread


TEE PREP & CUTTING
Wash your t-shirts first. Don’t use fabric softener as it might prevent the interfacing from adhering properly.
Remove the collar and sleeves and separate the front from the back. Discard either side you don’t intend to use.
Cut Ez-Tee into 14” squares.
Following the Ez-Tee instructions, apply the interfacing to the wrong side of the tee being sure to evenly cover the image you want to capture in the quilt.
From the front of the tee, cut out each design at 14” square or less. Using a square ruler helps! These are 12½” unfinished because that was the ruler size I already had and it worked for the image on most of the t-shirts.
TIP: If the shirt image is larger than the unfinished square size, make sure you are or the original shirt owner is ok with some of the images being cut off.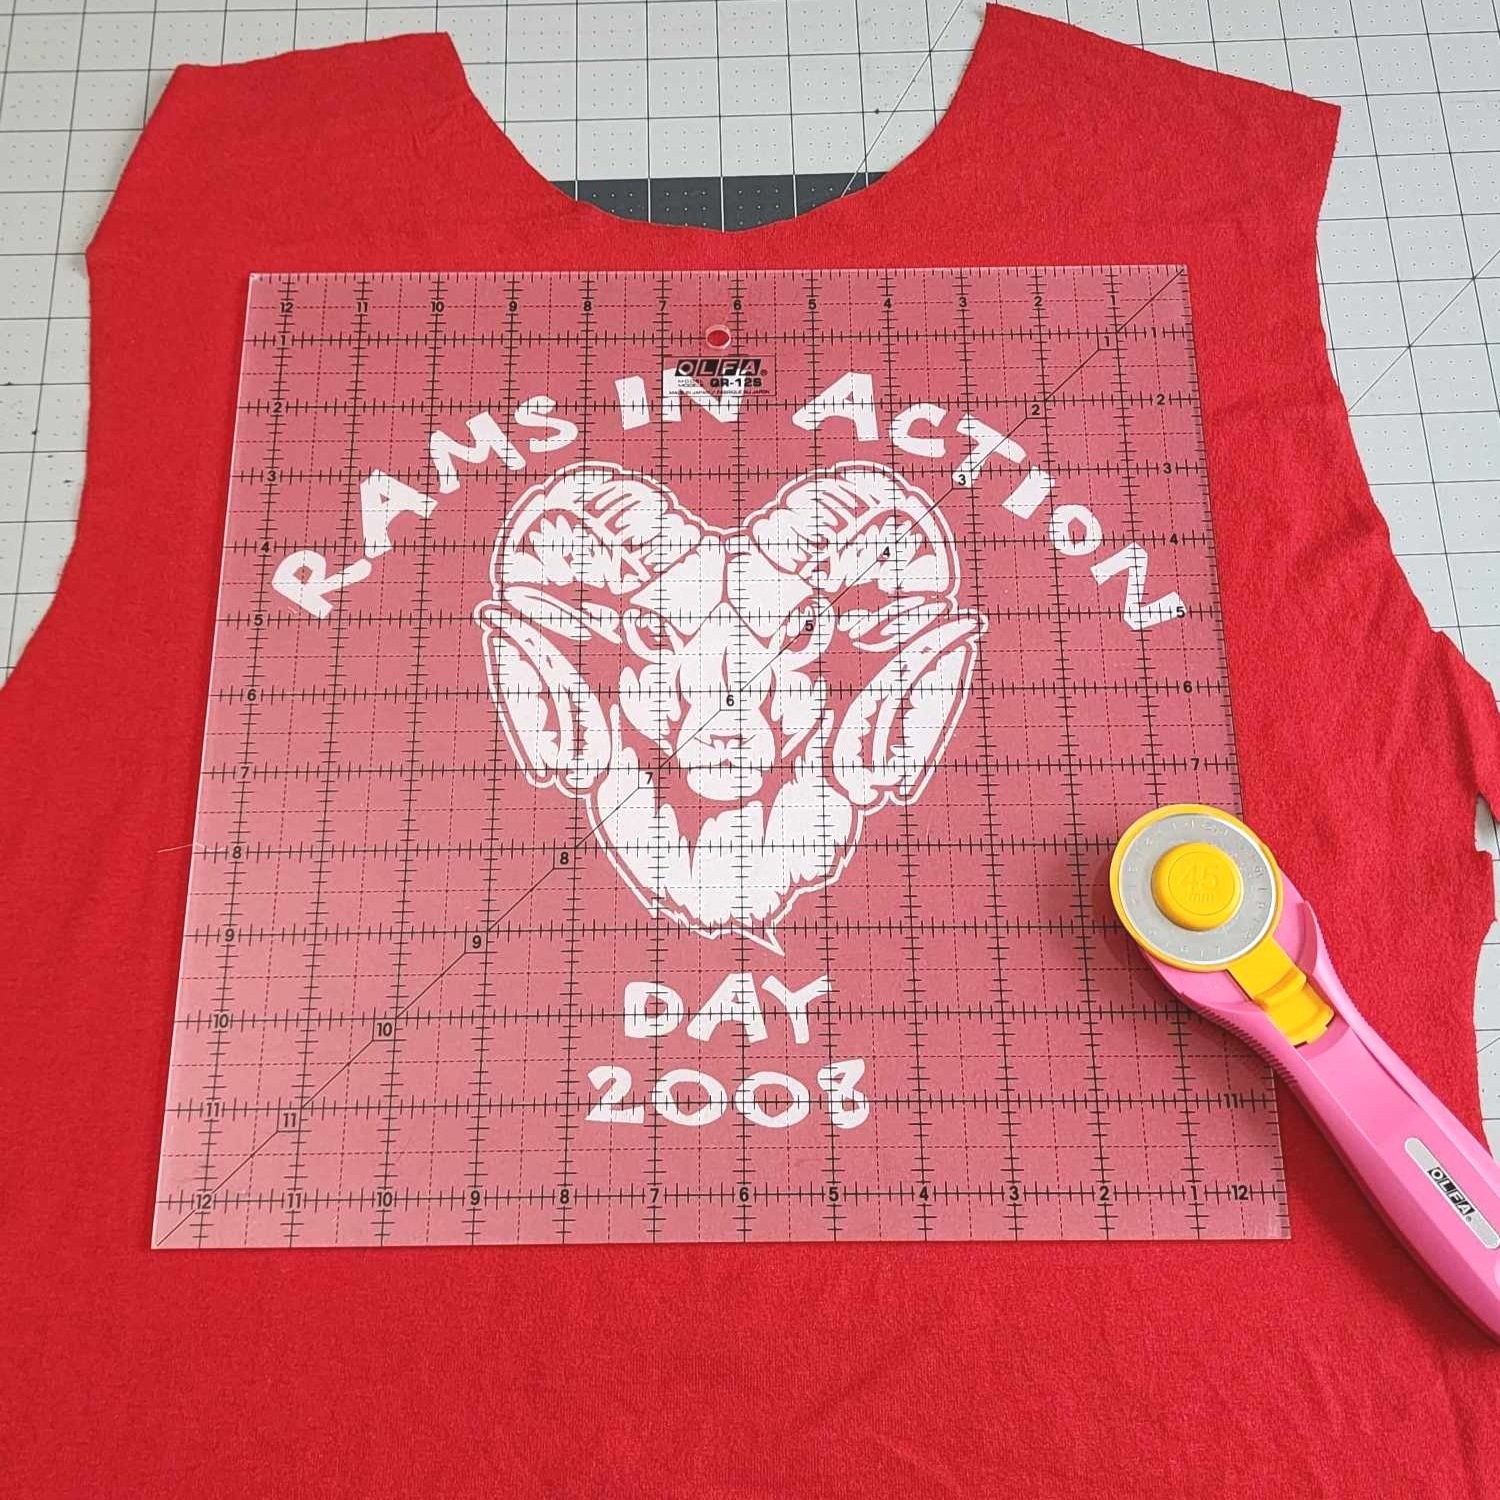
QUILT LAYOUT
Here’s where you get to be a little creative! We won’t all have the same amount of t-shirts, so use your design wall or floor to play with where you want each tee block to go.
If you have an odd number, you can use a coordinating cotton fabric as filler blocks or use the blank side of some discarded tees (following the same above process). In this quilt, Kimberbell Basics Red Scroll and Forget Me Not Dark Blue Duo were used to add a few more red and blue blocks.

SASHING
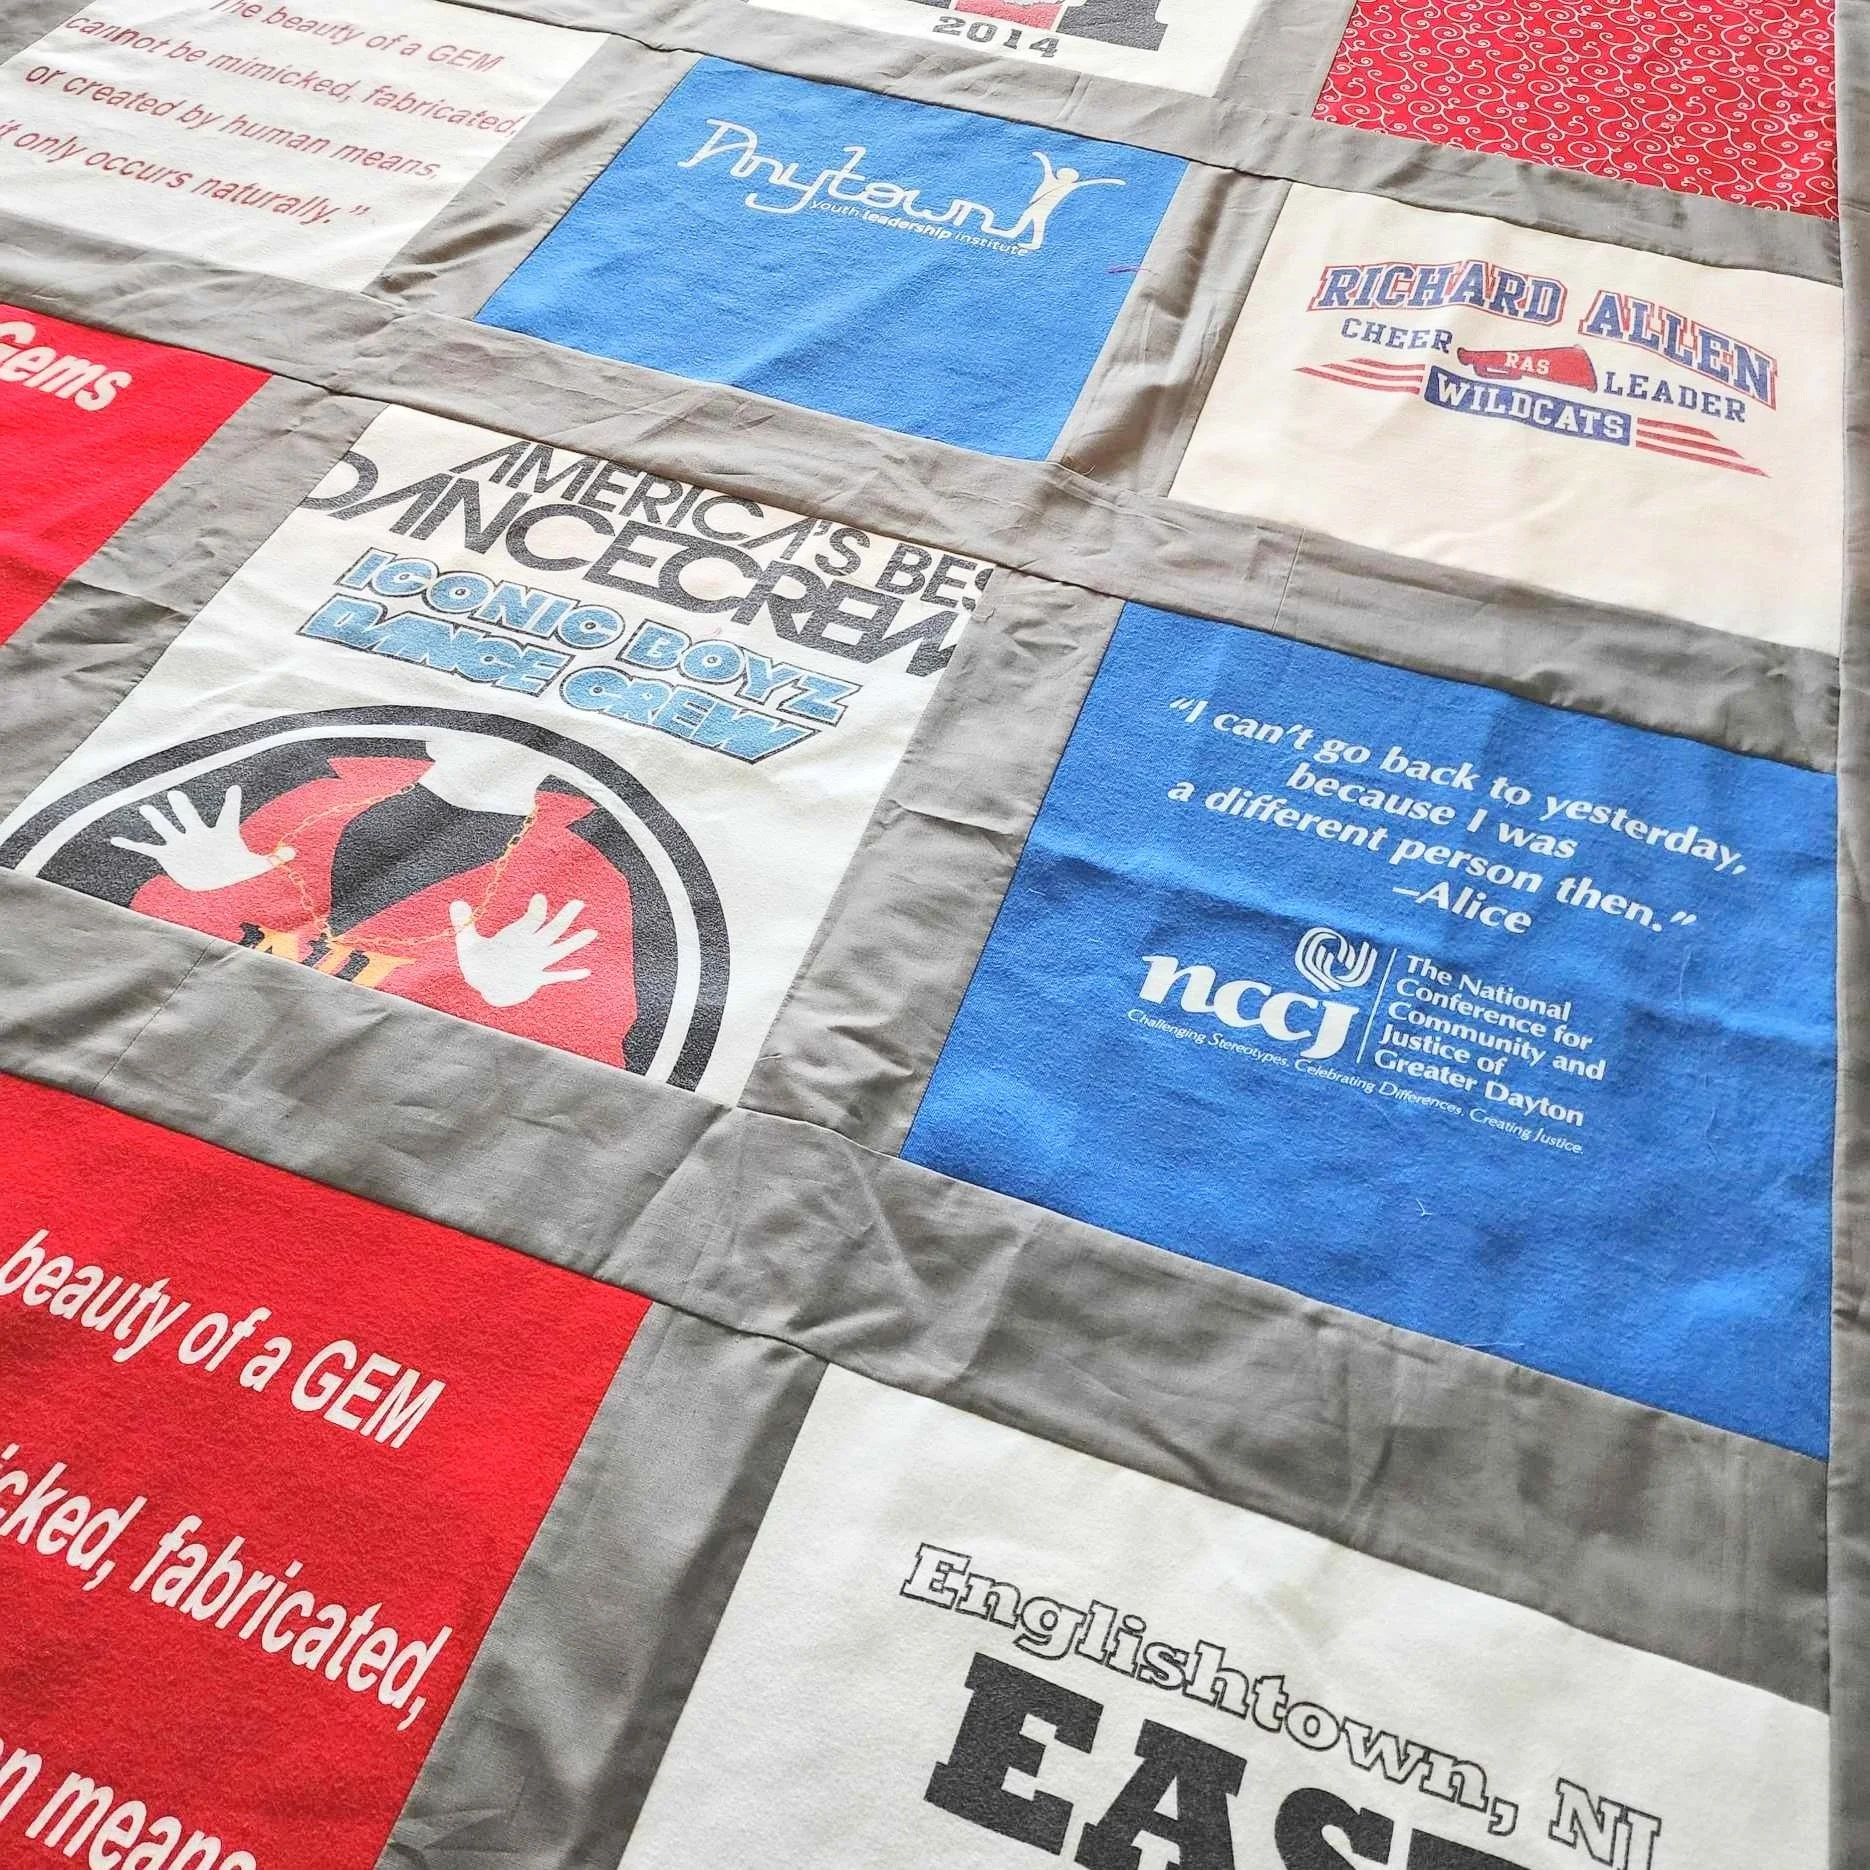
Adding sashing in a neutral coordinating fabric helps to keep each t-shirt distinct, which is easier on the eye. However, it’s NOT a requirement.
Your strips should be 2” - 3” wide unfinished. The height for the horizontal rows will be the same as your blocks. For example, for this quilt, the strips were 3” x 12½”.
Now it’s time for a little math to figure how long your strips should be for in between each row and your borders. So pull out those calculators!
Strip Length Formula:
[(# of blocks) x (finished block size)] + [(sashing strip #) x (finished strip width)] + 0.5 = Total Length
Practical Example:
(4 x 12”) + (3 x 2.5”) + 0.5 = 56” Row Length
Cut your fabric yardage into your desired strip width. Sew those strips together short end over end creating one long continuous strip. Make sure the total length is the length of all the sashing rows, both sides and the top and bottom (see the black arrows below). Then cut the continuous strip into the lengths calculated above.

FINISHING
Now that you have everything all cut and ready, it’s time to start sewing. Using ¼” seam allowance, sew each block together to make rows and then sew each row together. Add your top, bottom and side border strips and your top is complete!
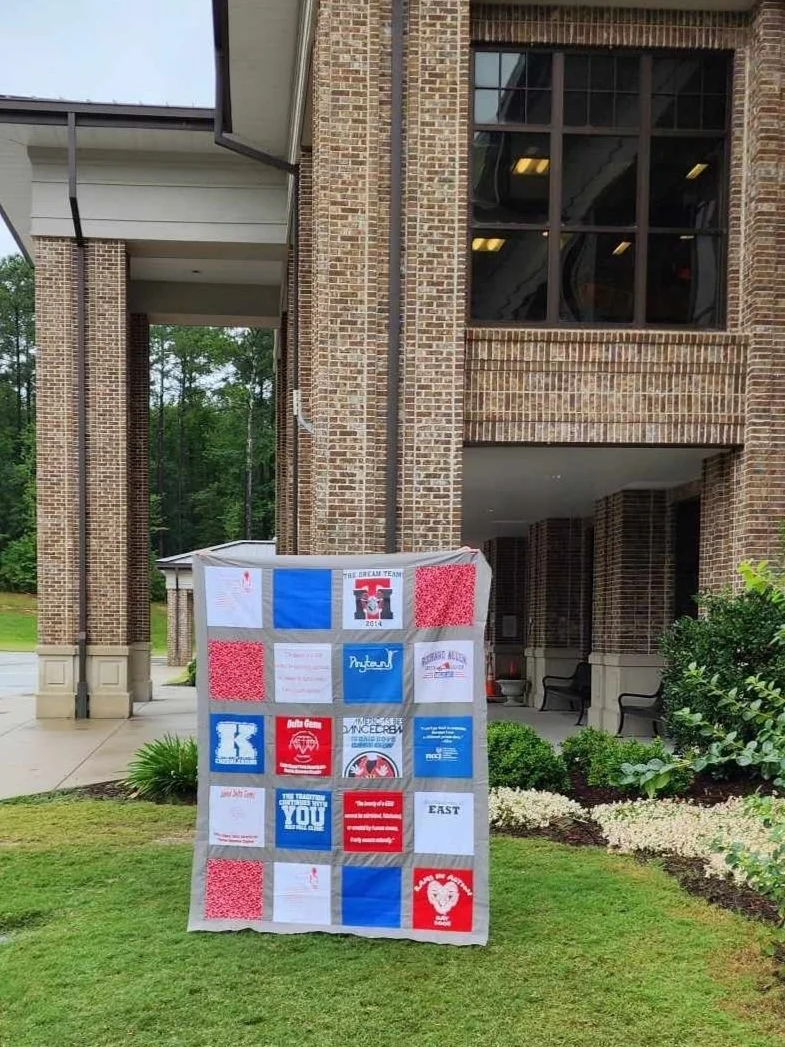
Using school t-shirts inspired me to get a picture in front of my kids’ school.
To see projects completed by other makers, check out #QuiltGoals2023 on Instagram.
Stitch on me hearties!